top of page

Digipack Creation
In this post I will show and explain step by step process of my Digipack. In my creation I used Adobe Photoshop and Illustrator.
Step 1: creation of background
For my Digipack I used pictures for my Photoshoot.

Firstly, I extend my pictures, so they could fit the format. Trough Canvas size, I changed the size of the image canvas. Trough Content Aware Fill I extended image content.

I did the same process with my second images, which I combined into one before using tools such as blur and Spot Healing Brush.
Step 2: creation of outer digipack cover

in Selection, Object Selection I selected objects in my picture.

In edited selection in mask mode.
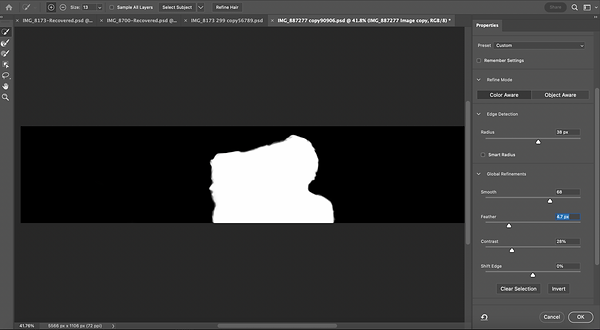
I edited section more in Mask and Select, smoothing the edges.

I copied the picture, and selected element in the Iliustrator arranging it on the top of the artwork.

In my design I wanted include Mixed Media elements. In Photoshop I edited picture of my writing in Brightness/Contrast adjustment.

I selected text trough Color Range Select tool.
I

I copied the selected element in the Illustrator.
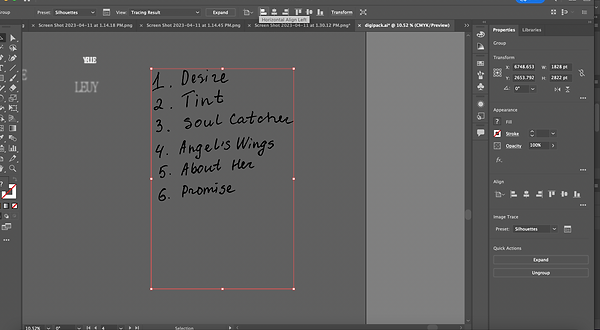
Copied element I traced trough Image Trace and Expanded appearance.

Same steps I did with few more pictures.

I edited elements changing color, opacity, Overlay options.

Placed onto artwork.

I added additional elements of text such as headlines, songs' list. I chose to use Sans Serif font "Museo Sans".

To create a logo title for album, I wrote typed name of album in Bold Museo Sans font and edited it using Mesh Tool.

Under result I typed additional text in light Museo Sans font.

For additional element I typed the paragraph of text, blurred in Gaussian Blur tool and added aditionall effects in Effect Gallery.

I erased few letters and words using eraser tool.

Completed elements I posted into the Artwork.
Step 3: creation of inner cover of digipack

In expanded background I placed handwritten elects created in previous steps.

Additionally, I placed text elements such as headlines, text paragraphs, and lyrics paragraphs.

For additional typography elements I edited text "desire" adding the Gaussian Blur effect.

In Effect Gallery I applied Textuirizer affect of Sandstone texture.

Also, I put on the logo title for the music video, which I wanted to apply in my digipack as well.

In final step I organized all elements in the artwork.

Here is two completed CDpack pages.
Step 3: creation of inner cover of digipack

Finally, after completing I exported images trough Export for Screens as a JPG file.
Step 4: applying digipack in mockups

Online, in free sources I found a mockups files. I opened psd file of mockup in Photoshop.

In Layer section, I doubled clicked for a layer with booklet. Clicked layer opened in new file.

In finder I searched up for file which I want apply. Its a part of my digipack. I am posting image in file.

Editing it so it will fir the whole canvas. Saving file, so it will show in the original file of mockup.

Saving file of the layer, so it will show in the original file of mockup. Finally result saving as JPG. Same steps I did with other mockups file.
Other Blog Posts


bottom of page